Process: Sketching Surface Texture

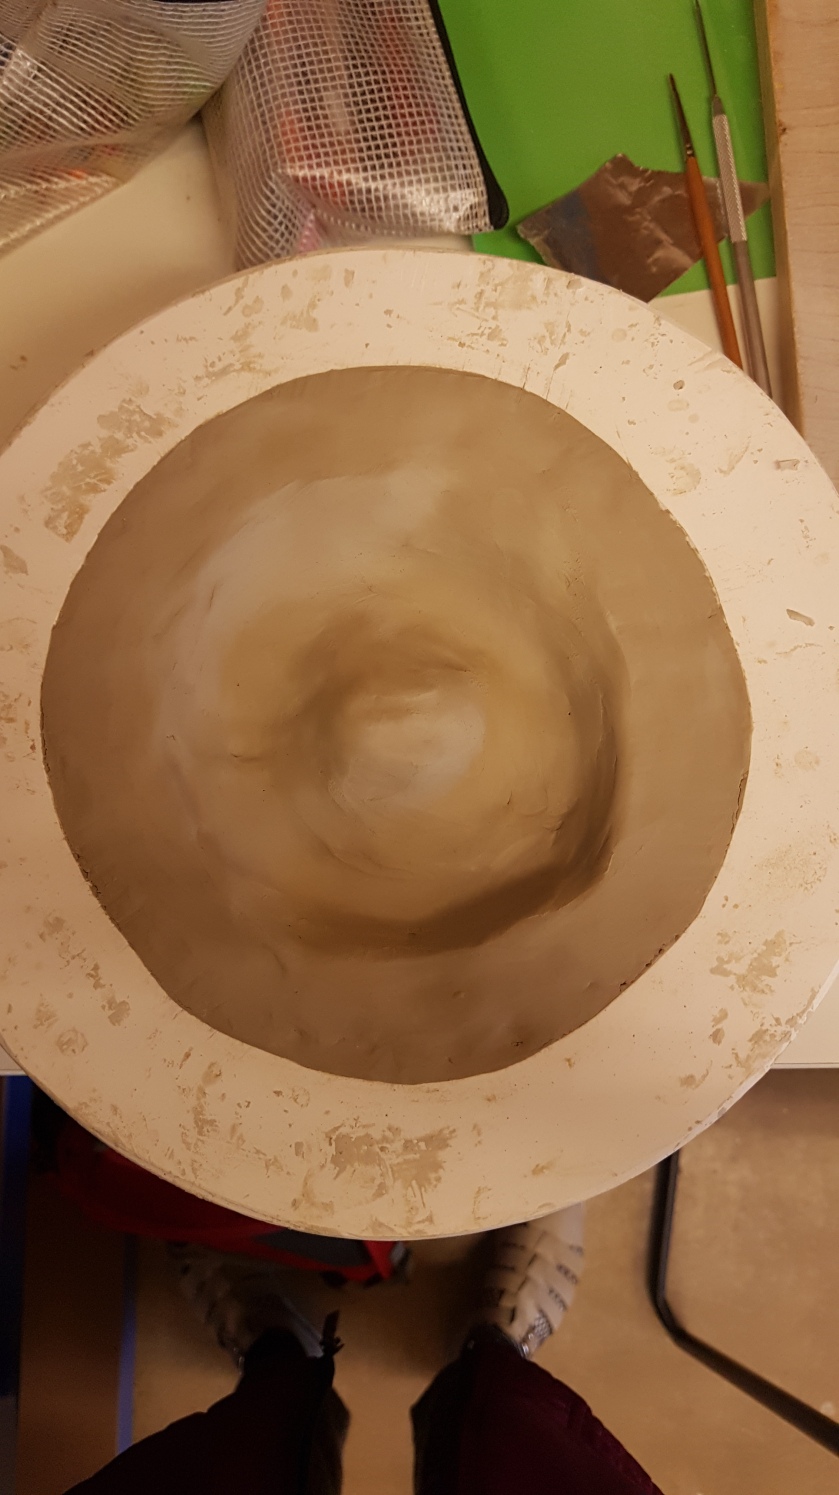
After my initial sketches responding to the mortar I made ceramic forms also with a similar surface texture. In response to those made items I wanted to sketch their texture but to help myself to see and re-visualise their pattern on paper using colour. I wanted to experiment and use bright colours only to help my eyes see the texture for the first time. This difference in colour was challenging as I had to re-think my documentation of the texture and page layout as these colours are seen differently to black ink on white paper. Using the orange and pink pushed me to challenge my sketching skills, I had to re-think my presentation of the texture. This experiment was really beneficial to the project as it helped me develop the style that I would use in the final artifacts.

Orange and Pink

20181203_190407.jpg

After forming this sketch I reflected and doing so I decided to maintain this style but switch back to the fine liner as my tool for mark making. I enjoy the detail that I can put in with the fine liner and using that I can play with the perception of the pattern. The fine lines help challenge surfaces and platforms that I was sketching. I personally think that the fine lines and my use of them effects the paper and the sketch as a whole on a dimensional level. Although I feel that the sketches are effective I do see all their faults, I see where my sketching skills are lacking and although I did practice and really try to develop them I need to work on them so that I develop my skills further. I intend to research into effective sketching skills to challenge perceptions of depth and angles.20181203_190328.jpg20181203_190334.jpg20181203_190328.jpg

Process: Sketching Plaster Mould Results

Although I was not pleased with my plaster mould result I did find it very interesting to sketch. I found navigating the crevices and nooks of the clay thrilling. The detail in the clay was enormous and as I wanted to represent the shape and object as a whole I decided to focus the detail on a specific area and suggest the rest of the form with a different line. Capturing the detail using a fine liner I have suggested the complexity of the surface texture, I have represented the shapes the clay took having hit the mould and the depth of the crevices and caves.  through using colour and a thicker line I have distinguished the object shape away from its texture, this was important in order for the sketch to be successful in depicting the object as a whole and not just a texture.


IMG_20181105_140316_867.jpg

I found this sketch rather challenging as its complexity in depth on the surface distracted my eye away from the item as a whole. The detail that I imitated was not exactly how I saw it, I found it very hard to focus and draw precisely as there was just so much to look at. Forgiving myself for the slight inaccuracies allowed me to loosen up in my other sketches. I feel that this is important whilst developing skills for it frees your arm up in the process of sketching and stops your mind from idealising a direct likeness. Although the plaster mould process wasn’t successful I feel that I have made it a success y changing my perspective of what I wanted from this process. I will carry these ideas with me throughout the duration of this project and hopefully to my practice.

Process: Plaster outcome

Having thrown the clay into the plaster mould and reinforced the form with coils the clay has dried and is ready to release from the mould.

Here is a short clip of the mortar.


After releasing the clay from the mould I noticed the texture left from the clay. Although I do not like the new texture on the mortar I did like the pattern left from this process. This has not been a failure in my eyes as I have learnt more about the way that clay works and the beauty left behind by it.


20181102_153509.jpg

Process:Plaster Mould Throwing


Finally, the plaster mould is dry and ready to use. I have planned on using this plaster mould in a process I’m dubbing Plaster Mould Throwing. This technique requires me to literally throw bits of clay into the mould so that it creates a rock/pebble effect. I have documented the process in the video above. As you can see the process is rather unpredictable and a bit messy. Also, trying to set up my phone to video this process propped up on some spray can lids was not a great idea.

As the video shows, I first had to smooth a layer of clay over the grinding surface of the mortar, this will allow a friction free surface allowing the grinding process to obe efficient and void contamination. During this process it’s vital to move quickly as he plaster will draw out moisture from the clay immediately, meaning that there is a risk of the clay drying before you have finished making the form.

The next step in the process is to throw small ball like shapes into the mould, aiming at the external ‘walls’ of the mortar. Gradually aiming the balls further up the mould, creating an even texture across the form. In order to secure and stabilise the mortar the process calls for reinforcing the walls with coils of clay, these must be laid on top of the balls and integrated into the small amounts of clay. This will ensure that all the clay has bonded and will be stable and not crumble when dry. Filling the rest of the mould with coils makes the form solid, however, if the form is too thick there is a risk of cracking or even exploding in the kiln. To try cut back the density of the clay I have made an indentation in the form, hopefully this will help lower the risks of cracking. This is depicted below.20181030_133647.jpg


The form is ready so it’s time to set the mould aside and allow it a significant drying time due to the volume of clay inside and the size of the mould. I will now place the mould in the drying cupboard which is heated to aid drying times.


Process: Plaster Mould

I decided to trey a new technique for making my mortar, the plan was to make an initial mortar then make a mould of it so that I could use the mould to throw clay in to make a rocky/pebble effect. I wanted to use this technique to try and use an unpredictable random way of creating surface texture.


The initial mortar ready to make a mould of.

20181017_145159.jpg


Having poured the plaster and left it to cure I have turned it upside down ( now the correct way) and placed it in the drying cupboard. Here is the mold mid way through the drying process.

20181019_113240.jpg


Since the mould has now dried and the moisture from the clay is removed the clay has shrunk leaving a gap between itself and the plaser.


20181019_113311.jpg


The dry clay has now been removed effortlessly from the mould, the shrinkage allowed an easy departure. The mould has now been cleaned and is ready for the new process.

20181029_114351.jpg


Initial Research Into Ink Ingredients

Having done some initial research online about Inkmaking and the materials used  I have come across suggestions of these materials.

Although I do not intend to make ink in this project I want to be aware of them so that if I do come across them I can collect them for future use. Based of this research Ink Making seems to me a fairly easy technique using fairly easily found materials. However, the success of these recipes and ingredients can only be guessed. As these materials are rarely used in modern, commercial ink recipes they come across as more of a holistic approach to ink in comparison to the highly pigmented inks available now. Whilst theorising using these materials I also expect an ephemeral result. The likelihood that these inks will fade is high, I need to research more in depth into ink recipes.

The excitement that  I feel at the prospect of making ink really pushes me forward with this project. My ideal practice would be to use ethical and sustainable materials in my work, if these materials are unavailable to me due to financial restrictions or general availability then why can’t I make them myself?